
I made this piñata for my God Daughter's 6th birthday party! Hope you enjoy :)

Materials:
Cardboard
Painter's Tape or Masking Tape
Utility Knife or Box Cutter
Tissue paper (whatever color you want)
Spray paint (optional)
Scissors
Rope
Confetti (optional)
String
Glue (I recommend glue sticks - but you'll need quite a bit!)
Ruler/Tape Measure
Card stock
Hot glue or Duct Tape
Scotch Tape
CANDY!
Instructions:
1) If you don't have the color tissue paper you want, make it! Tape tissue paper to cardboard and spray paint the paper with the color of your choosing.


2) Prep the paper strips by folding the tissue paper in half, and cutting lengthwise until you have approximately 8 strips like this:


3) I wanted my tissue paper to have the same fringe/ruffled look like the zebra paper I got from the dollar store. To do this, stack the strips of paper and begin crushing it. There's no real technique - just make sure you don't rip it :)


4) When you're happy with the wrinkle pattern, smooth the paper and fold it in half, then fold it in half again. Begin cutting the paper to make a fringe pattern. Be sure to also cut where the crease was to make the fringe parts even all around.


5) Cut the rest of the paper using this technique and you should have something that looks like this!

6) Now to begin the number!! Measure the desired length of your number. My piñata measured 28 inches in length.

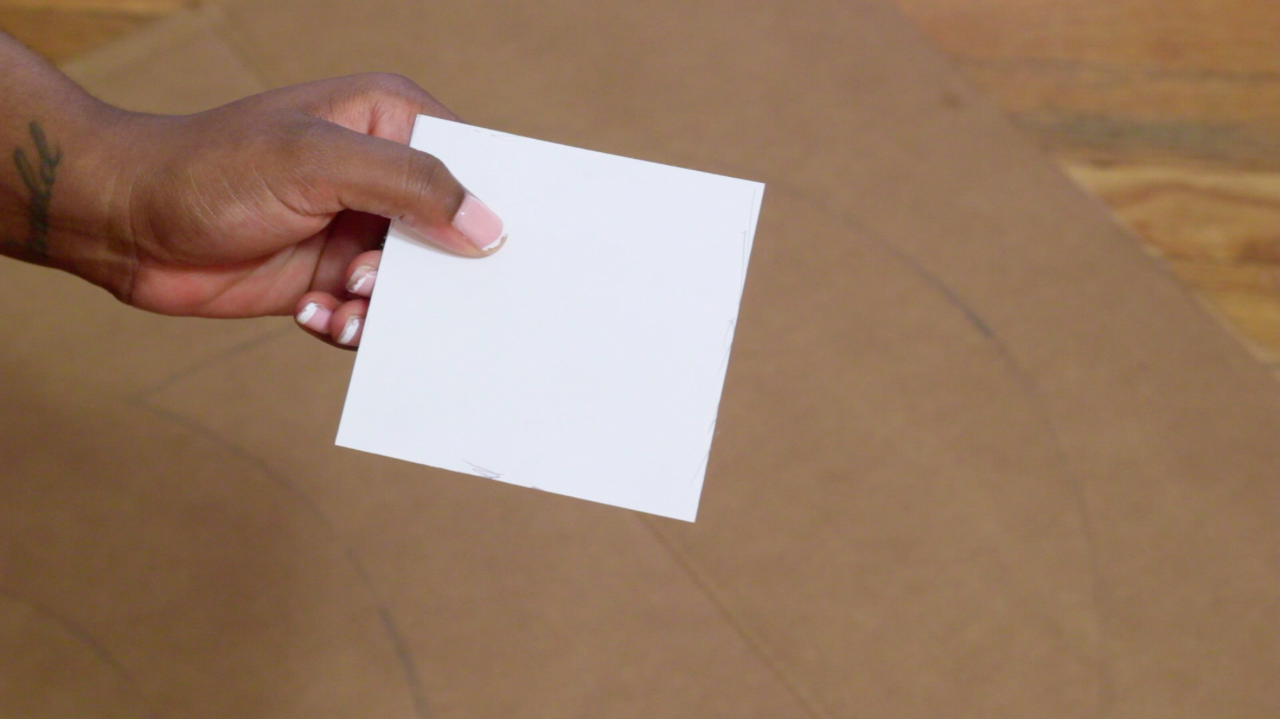
7) Cut out a 4"x4" piece of card stock and lightly trace your number on the cardboard. Go over the traced number with the card stock to ensure it's even. With a box cutter, cut out the number, trace on another piece of cardboard and cut out the second number. You should have 2 identical cardboard numbers.


9) When you get to a point where you have to join 2 strips, use tape to hold them together like this. I also taped inside for a secure hold.

10) For parts that need a shorter piece of cardboard, measure the amount you need, cut it, then tape it together. Tape the top on and now you have a 3D number!


11) Before we start adding the tissue paper, draw a trap door at the bottom whereat he candy will fall out. Cut it open with a box cutter then glue it with one of the tissue colors.


12) Now, you can begin gluing!


14) You'll come to a point where the piñata will have a small sliver of card board showing through. To have a seamless edge, but a thin piece of tissue, crush, smooth, fold it in half and cut the fringe, and glue on.


15) Cut the string to the desired length you want, and with the blade of a scissor, glide it across the string. This will make curl. Add the strings to the bottom of the trap door using hot glue or a strong tape like duct tape. Tape the bottom of the trap door with a lighter tape like scotch tape.


16) For the top of the piñata, create a trap door like you did for the bottom. With scissors, add a hole and push the string through. Tie a knot and repeat on the other side.


17) Reinforce with more tape, and finish gluing the tissue paper and you're all done!


Head over to my YouTube Channel to see how to create this awesome Piñata!
No comments:
Post a Comment