
Hey Guys! Today's DIY will be a Thanksgiving Pumpkin!!
I'm catching up on DIY posts. Be sure to check out my YouTube channel to be up to date :)
YouTube.com/SimplyHandmade

How beautiful is this?!
Difficulty: INTERMEDIATE
Materials:
White polymer Clay
Pumpkin Photo
Rolling Pin
Freezer Paper (optional)
Paint (Brown, Tan, Yellow Ochre)
Acrylic spray paint
Pumpkin Photo
Rolling Pin
Freezer Paper (optional)
Paint (Brown, Tan, Yellow Ochre)
Acrylic spray paint
Tools:
Rolling Pin
Boning Tool
Knife
Paint Brush
Boning Tool
Knife
Paint Brush
Instructions:
1) Cut out your reference photo of the pumpkin leaving no white edge then with your polymer clay and make a smooth round ball. I had to cut my clay in half, knead them separately, then combine them once they were soft and pliable since it was too much for me to handle with the large block.

2) With a rolling pin, roll out the clay until you have a flat surface about the size of the pumpkin cutout. PS make sure you use tools you’re not planning to use again for food! If you use it for polymer clay, you should not use it again with your food.

3) About halfway through I noticed the clay was sticking to my work surface so I decided to place it on freezer paper, glossy side up. Once the clay was about the size of the pumpkin, I made sure it was a quarter inch thick. You can just use a regular ruler to measure this.

4) Place the photo on top and with a knife cut out the pumpkin outline. Don’t worry if the edges are a bit jagged- we’ll fix this later on.

5) Next, using a boning tool, make impressions in the pumpkin. Press hard (but not too hard to rip the paper) for the deep grooves of the pumpkin and press lightly for the shallow grooves. Remove the paper and clean up the indents making sure it looks nice.


Smooth down the jagged edges with the side of the boning tool and Once you’re happy with how it looks bake it int he oven at 275 degrees for about 15 minutes.
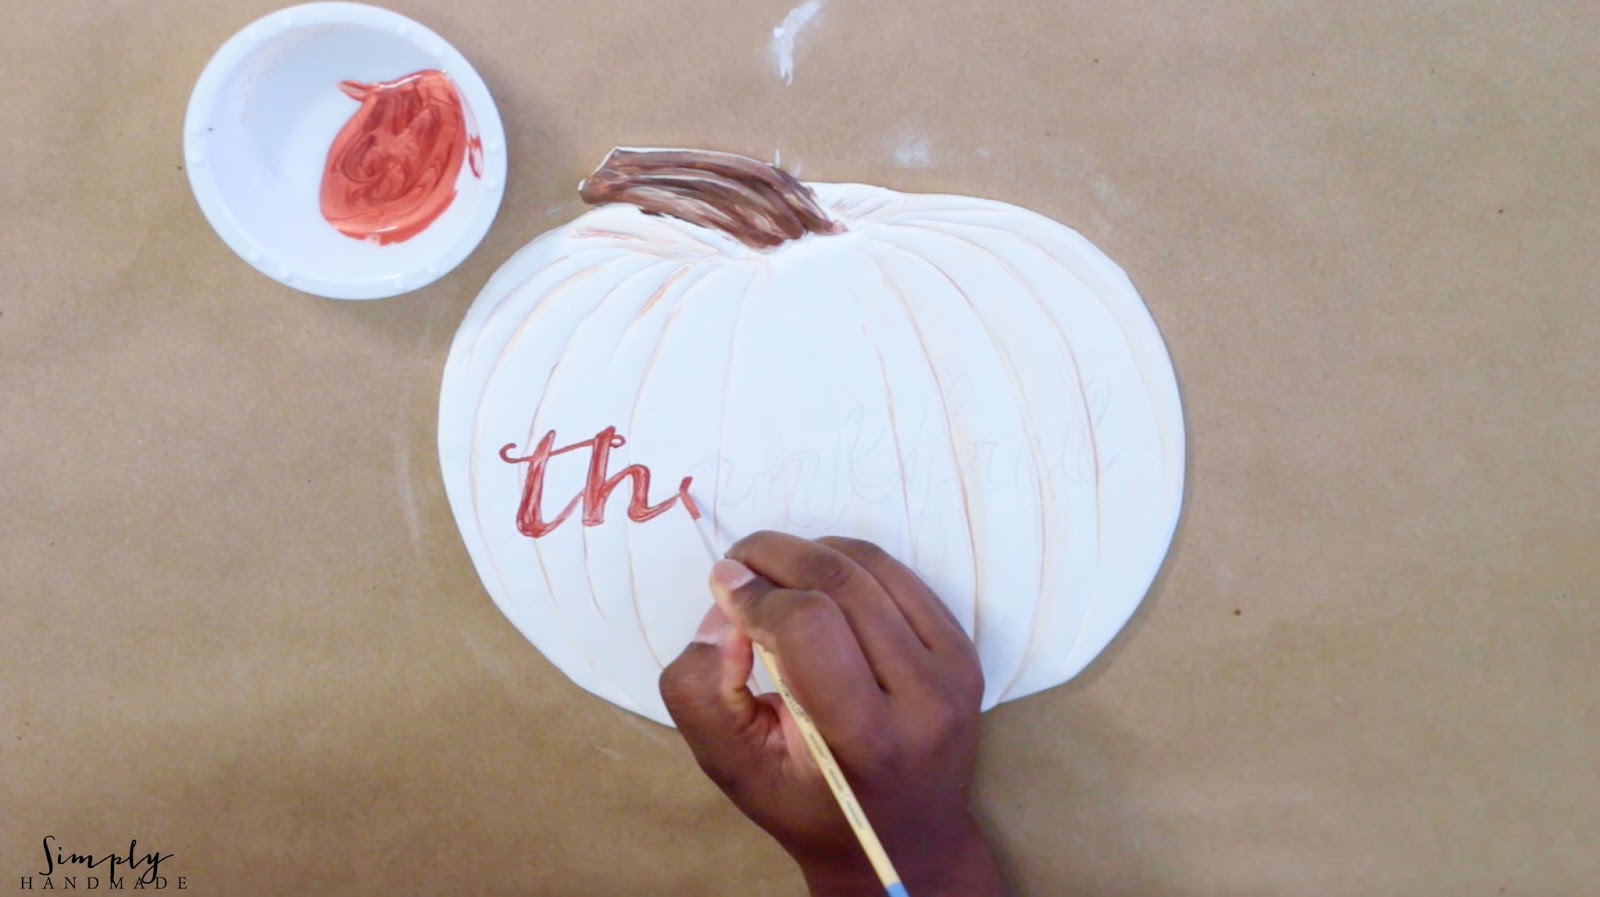
6) Once the pumpkin has cooled, I traced the word thankful. You guys have seen me do this in a few of my other videos. I’ll link them below

7) Once the word is traced, go over it again with pencil so the letters are bolder. We will need to see them through the layers of paint we’re going to add.

8) I painted about 3 layers of white and when that was dry, I began painting the pumpkin. I painted the stem brown first, then a brown and black mixture for more depth, and added yellow ochre for the lighter areas. Don't forget to paint the sides of the pumpkin.


9) Next, dilute the brown paint and painted it in the creases of the pumpkin and went over it with water on the brush to soften the harsh lines. I feel like this gives it a more realistic feel.

10) Once the paint is dry, use metallic copper paint with a paintbrush and write out the traced word. You can also use a paint pen for this. Use whatever you’re comfortable with.
11) Once it’s nice and dry, finish with acrylic spray paint and you’re done!

PIN ME!

Head over to my YouTube channel to learn how to create this Pumpkin!
No comments:
Post a Comment