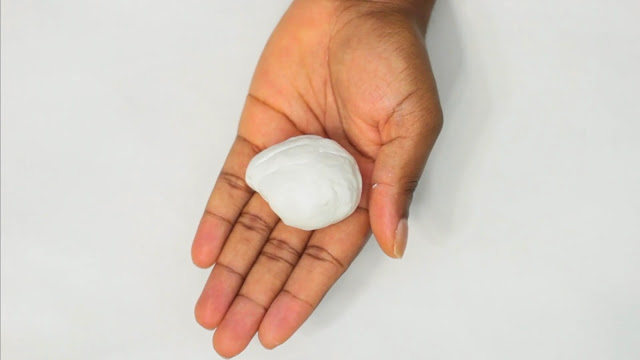
Need something to keep your jewelry in? Why not make this ridiculously easy and simple DIY that is completely customizable! Not only is this DIY awesome for jewelry, it's wonderful for any small thing like loose change.
Difficulty:
EASY!
Tools and Materials:
Polymer Clay
Acrylic Paint (Black, Gray, White)
Paint Brush
Mold (I used a drinking glass)
X-acto knife or other sharp tool
Rolling Pin
Copper Leafing Pen
Instructions:
1) To begin, take a lump of clay and start working it with your hands. The aim of the game is to warm this bad boy up so it’s easily pliable.
2) After your clay is nice and soft, roll it out with a rolling pin. I’d say to roll it out to the recommended thickness on your package. I believe mine was about a quarter inch but don’t quote me on that.
When you’re done rolling smooth out any imperfections!
3) Next, take a glass or another oven safe container to mold your clay on. Fold it over and smooth out any air bubbles.
4) You may want to lift the clay from the sides and smooth down to release any bubbles that may be trapped inside.
5) After it’s buttery smooth, take a sharp x act knife to cut the clay to your desired depth.
Bake the clay according to the instructions on the paper then pop it off the glass
6) With a fine grit sander, sand down the imperfections. This may take a bit so be sure to watch your fav show!
7) This was a complete rookie mistake but I began painting the copper initials. Ideally I would have painted first.
Paint shadows on the letter and circles and begin to paint around the letter.
8) Keep going by mixing gray, white and very little black! Paint on they inside and the outside.
9) Finally, when you’re all done, I took a copper leafing pen and traced the top of the dish. You can leave the dish matte, or add some clear acrylic spray to make it nice and shiny.
Once you're all done, enjoy your gorgeous dish!
Watch how to make it here:


No comments:
Post a Comment